


Bi-Directional DC Motor Speed Controller Project Using Arduino
15 in stock
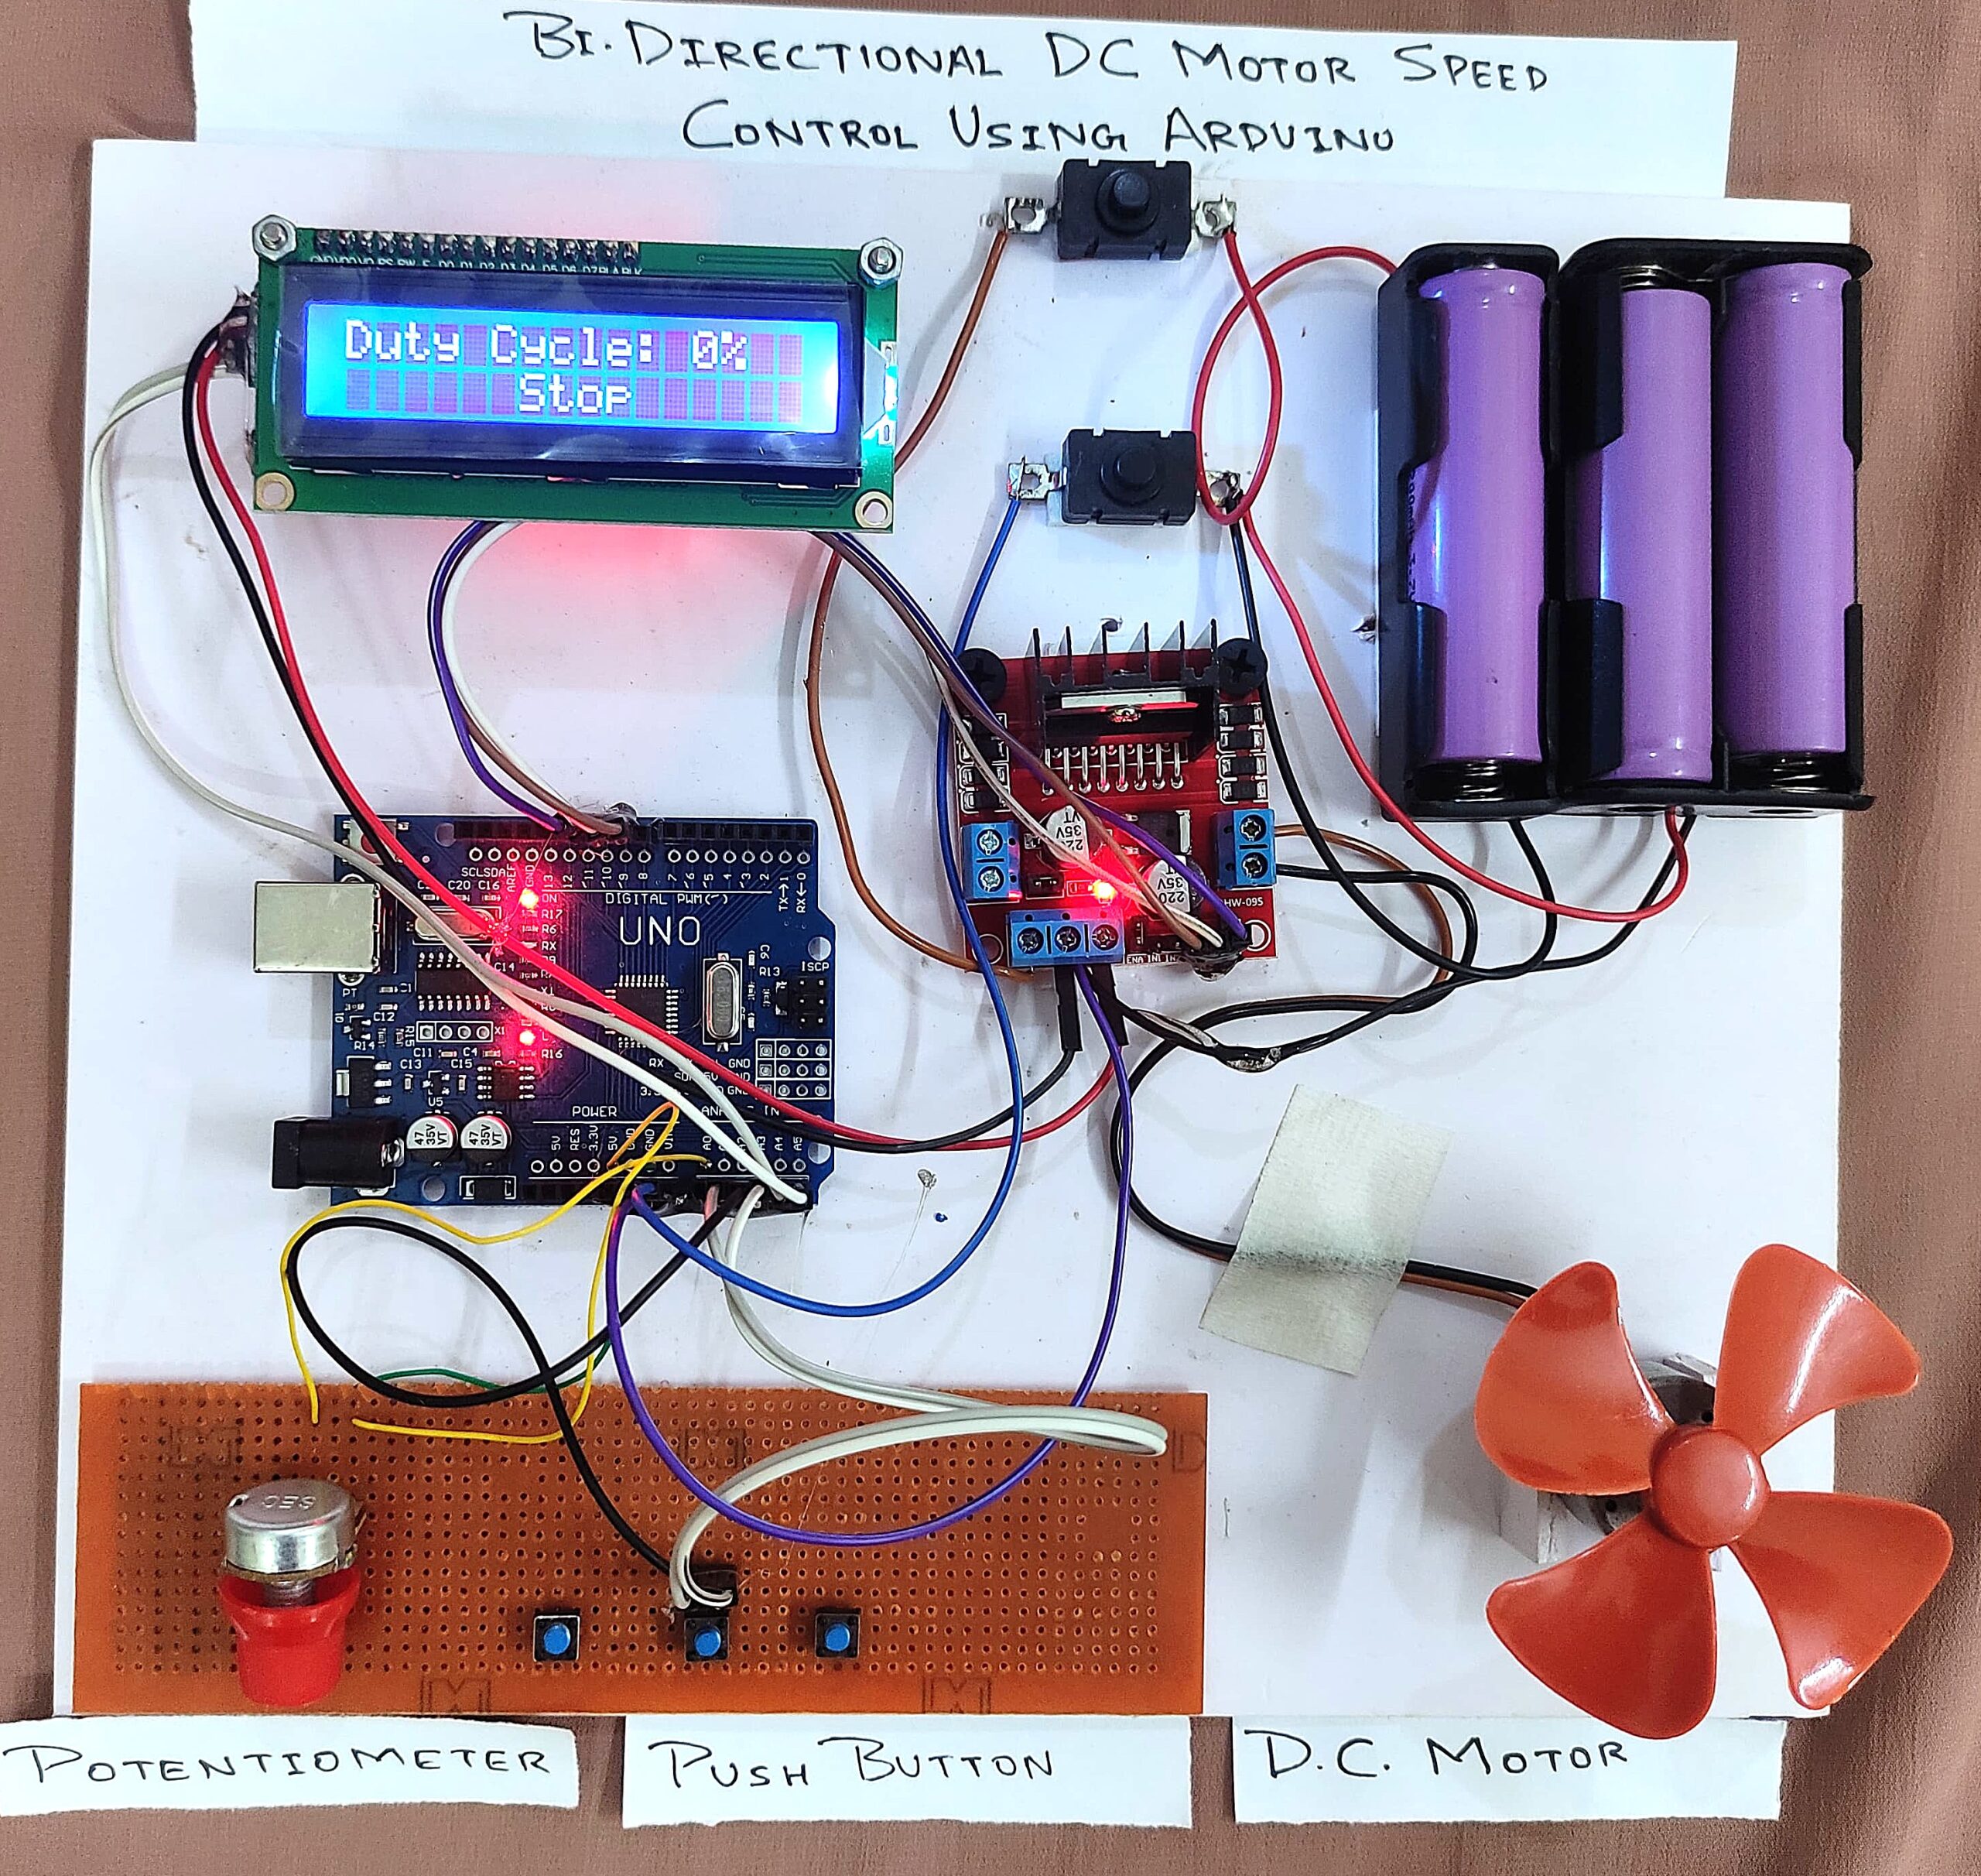
This project is about creating a DC Motor Speed Controller using Arduino, you will see how to control the speed and direction of a DC motor using an Arduino, potentiometer, push buttons, and an L298N motor driver.
₹4,500.00 ₹5,000.00
15 in stock
CompareThe DC Motor Speed Controller is an Arduino-based project designed to control the speed and direction of a DC motor using PWM (Pulse Width Modulation). This project helps students understand motor control, interfacing components with Arduino, and working with real-time displays.
Using a potentiometer, the user can adjust motor speed, while push buttons control direction—clockwise, anti-clockwise, or stop. The system includes a 16×2 LCD to display the motor’s speed and current status.
What This Project Does
- This project allows you to:
- Start and stop the DC motor
- Run the motor in clockwise or anti-clockwise direction
- Control the speed of the motor using a knob (potentiometer)
- See motor status and speed on a 16×2 LCD display
Main Components Used
- Arduino Uno
- L298N Motor Driver
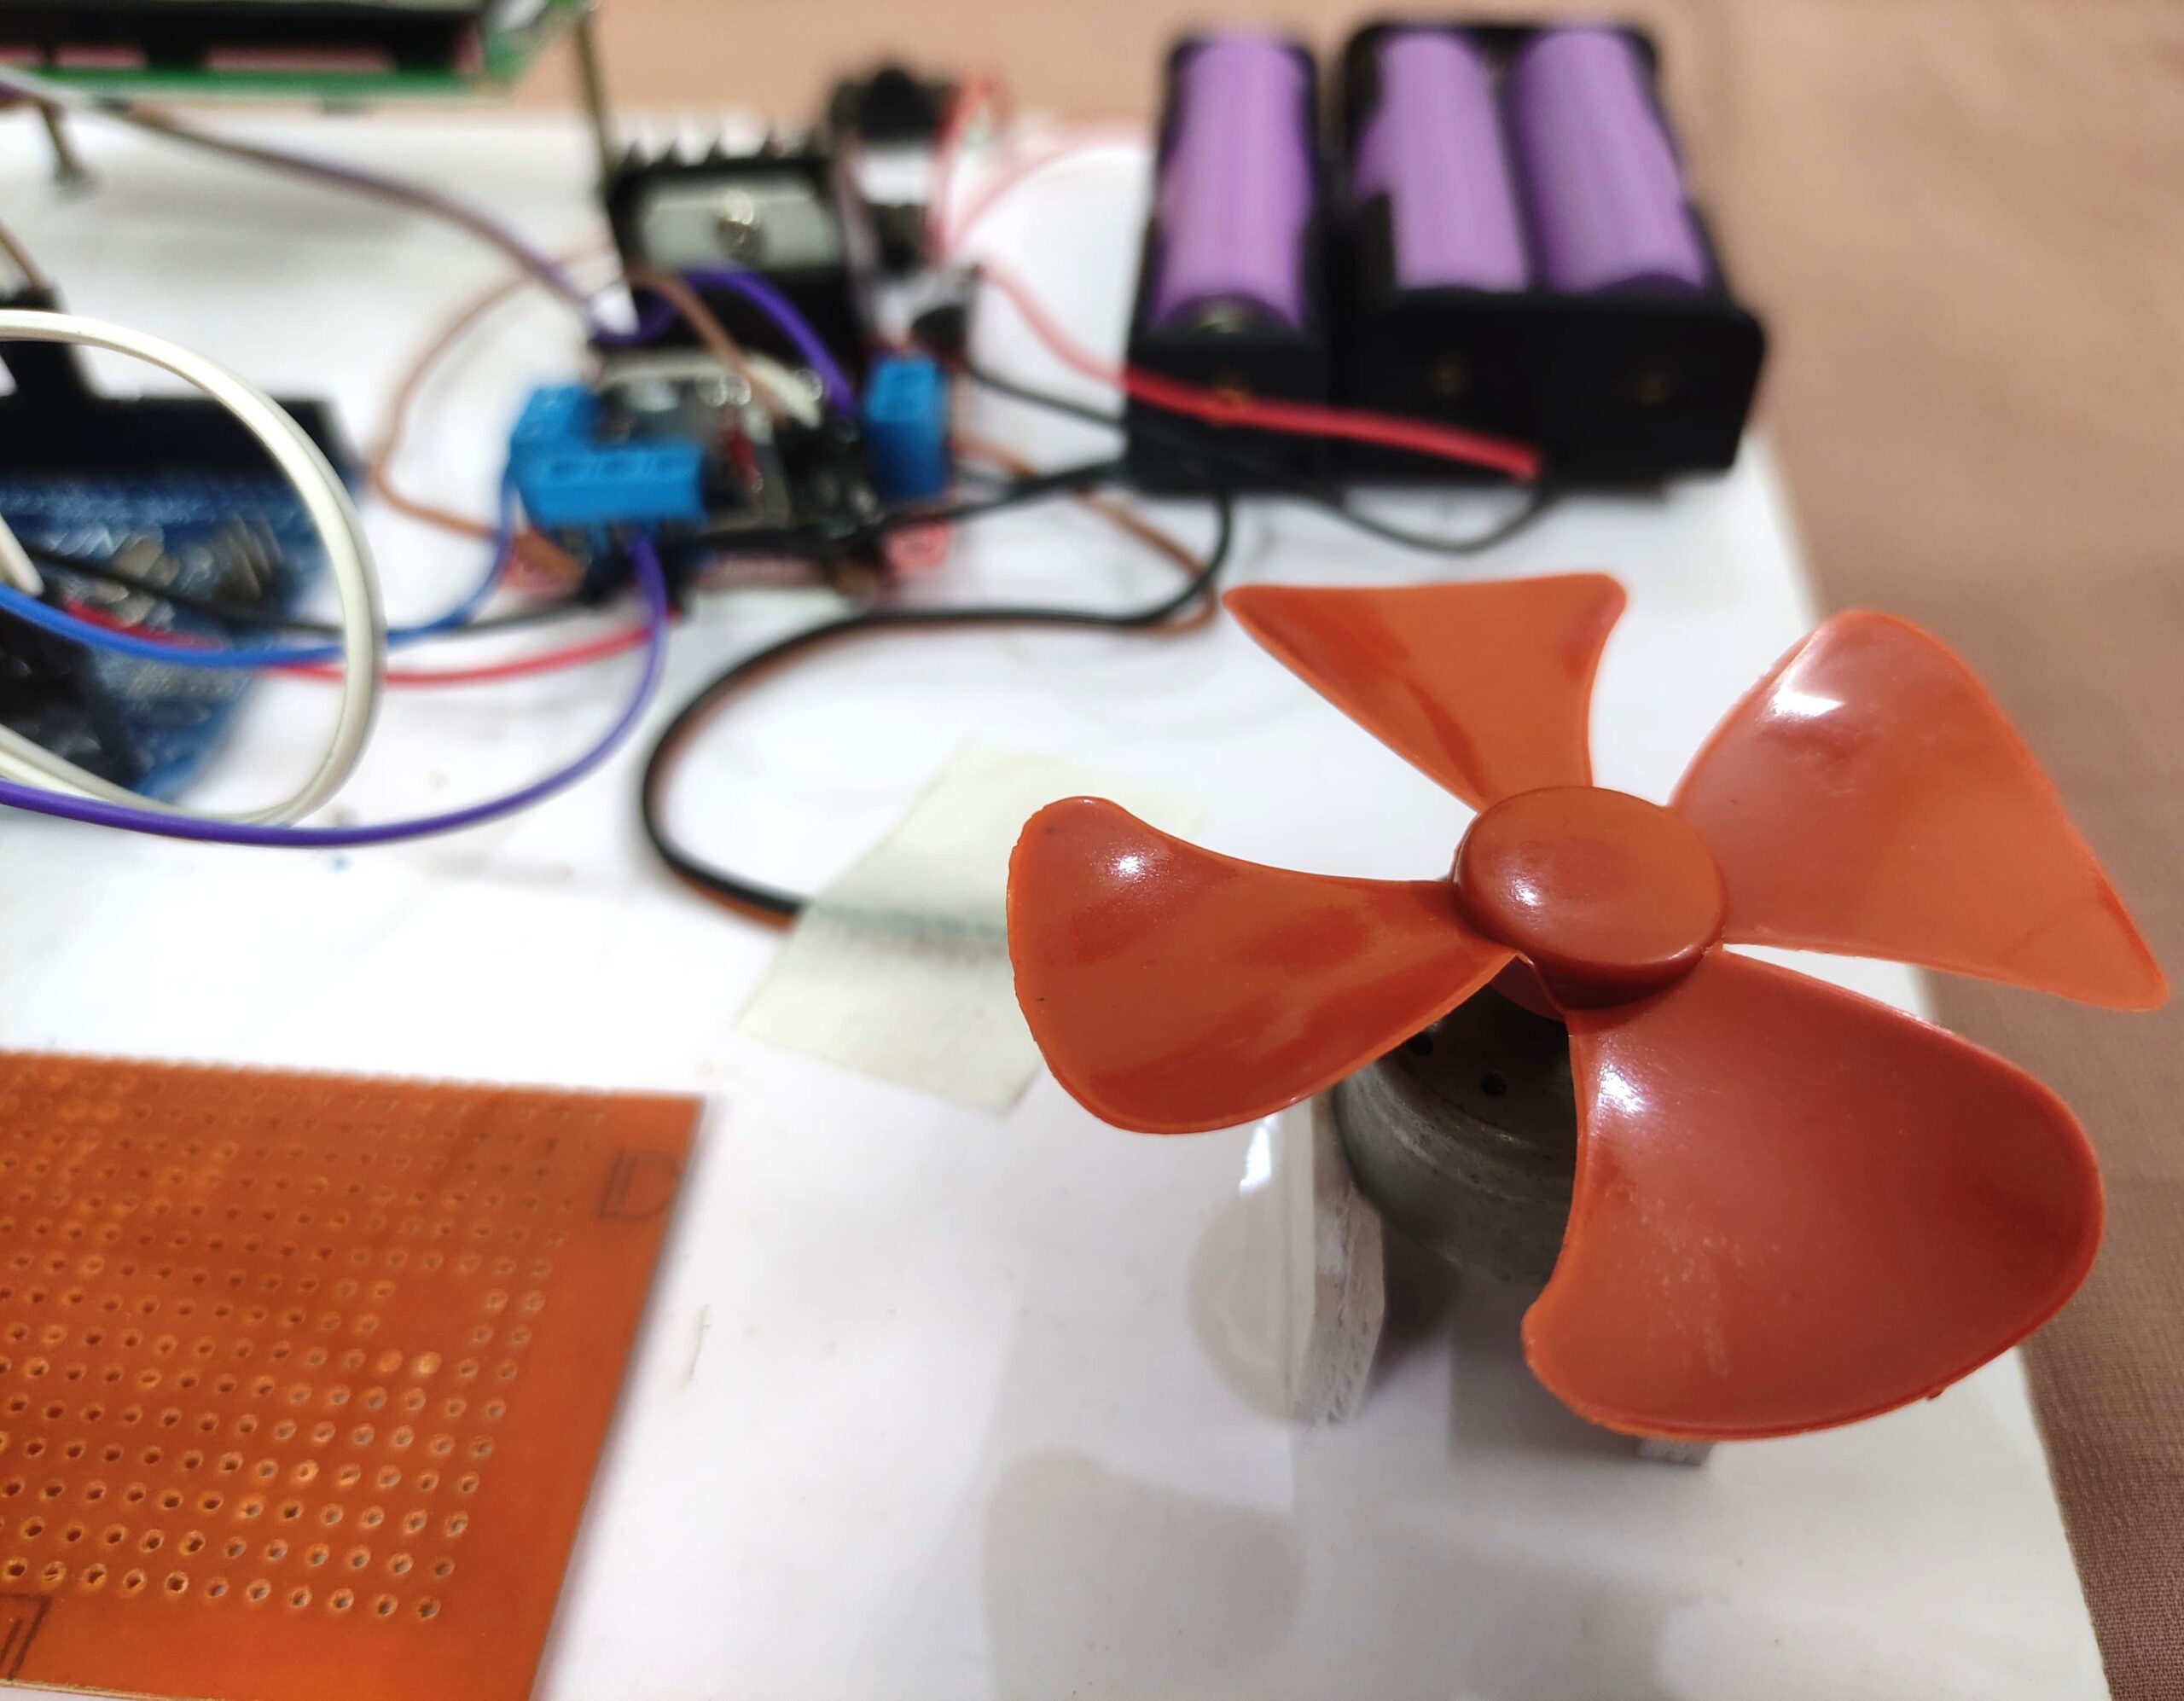
- DC Motor
- Potentiometer (10k) – to change speed
- Push Buttons – for start, stop, and reverse
- 16×2 LCD – to show speed and direction
- Power Supply – 7.4V battery or similar
How It Works
- Potentiometer sends analog signals to Arduino to control motor speed using PWM (Pulse Width Modulation).
- Push Buttons are used for:
- Starting motor in clockwise direction
- Stopping the motor
- Running motor in anti-clockwise direction
- The L298N Motor Driver receives signals from Arduino to run the motor forward or reverse.
- The LCD Display shows messages like:
- Welcome message at the start
- Motor status (Clockwise / Stop / Anti-clockwise)
- Speed (in percentage using duty cycle)
Working Steps
- Power the circuit.
- Turn the potentiometer knob to adjust motor speed.
- Use the buttons to control direction or stop the motor.
- Watch the changes on the LCD screen in real time.
Project Video
Package Includes
- 1 x DC Motor Speed Controller Project Using Arduino
Based on 0 reviews
Be the first to review “Bi-Directional DC Motor Speed Controller Project Using Arduino”
You may also like…
-
ARDUINO, MINI PROJECT, PROJECTS AND KIT, SENSOR BASED
Arduino-Based Alcohol Detector with MQ3 Sensor and 16×2 LCD
-30%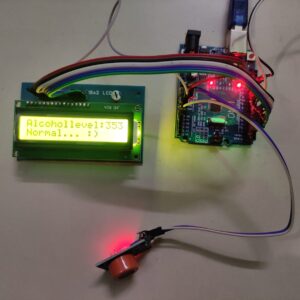 ARDUINO, MINI PROJECT, PROJECTS AND KIT, SENSOR BASED
Arduino-Based Alcohol Detector with MQ3 Sensor and 16×2 LCD
With its precision, reliability, and user-friendly interface, the Arduino-Based Alcohol Detector with MQ3 Sensor and 16×2 LCD serves as an effective tool for alcohol level monitoring in various applications, promoting safety and awareness.
SKU: EHEE006 -
ELECTRICAL PROJECTS, PROJECTS AND KIT, WORKING MODELS AND CRAFT
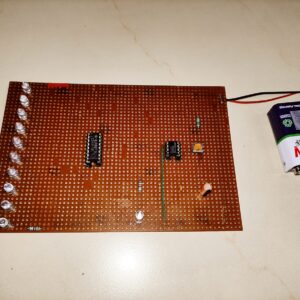
Transmission Line Fault Detection also fire detection Project || Electrical Engineering || Major project
-13%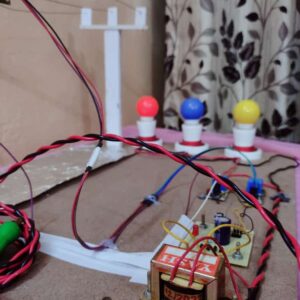 ELECTRICAL PROJECTS, PROJECTS AND KIT, WORKING MODELS AND CRAFT
Transmission Line Fault Detection also fire detection Project || Electrical Engineering || Major project
Integrating sensors and algorithms, this project detects faults and fires on transmission lines, enhancing safety and reliability without relying on AI technology.
SKU: EHEE001
Related products
-
-
-
ARDUINO, IOT, PROJECTS AND KIT, ROBITCS PROJECT, SENSOR BASED
ESP32-CAM Rover: Web-Controlled Car Robot with Live Video
-7%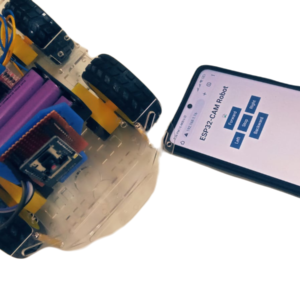 ARDUINO, IOT, PROJECTS AND KIT, ROBITCS PROJECT, SENSOR BASED
ESP32-CAM Rover: Web-Controlled Car Robot with Live Video
Build a Wi-Fi remote controlled car robot with the ESP32-CAM. You’ll be able to control the robot using a web server that displays a video streaming of what the robot “sees”
SKU: EHRB001 -
DTMF based project, PROJECTS AND KIT
DTMF (Dual-Tone Multi-Frequency) based voice and data transmission
-20%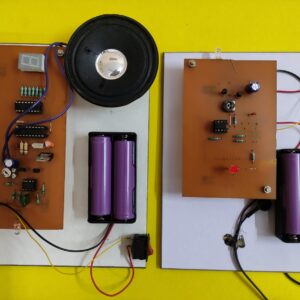 DTMF based project, PROJECTS AND KIT
DTMF (Dual-Tone Multi-Frequency) based voice and data transmission
This project utilizes DTMF technology for voice transmission, providing users with a dial tone feedback when a keypad button is pressed. Additionally, the circuit is designed to play audio from a YouTube video through a buzzer connected to the system.
SKU: DTEH001

There are no reviews yet.